If you’re a golfer, you’ve probably wondered how the greens are kept so short. Golf courses use a variety of methods to cut the grass on their greens, but one of the most popular is using a mower called a “greens mower.”
This type of mower is designed specifically for cutting golf greens, and it can cut them to any desired height. In this blog post, we will discuss how golf courses keep their greens so short and what types of equipment they use!
Table of Contents
How Short Are Golf Greens Cut?
There is a specific height that golf green should be cut to in order to provide the best playing experience for all players. Most golf greens are cut to a height of 0.125 inches.
This may seem short, but it is necessary in order to keep the ball rolling smoothly and prevent it from bouncing too high.
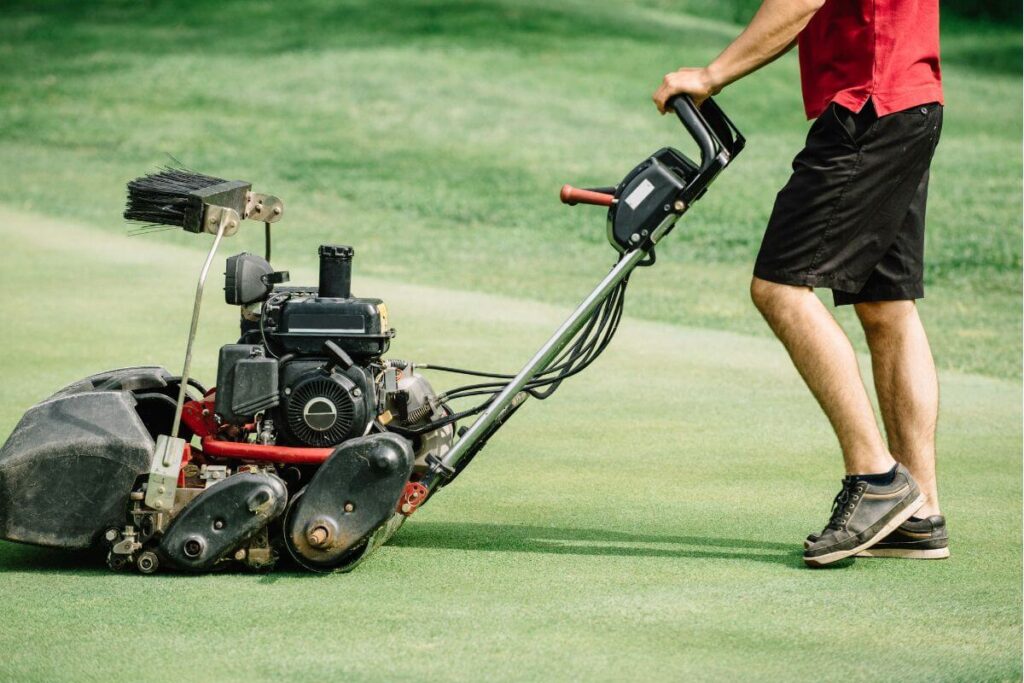
The greens mowers that are used to cut golf greens are very different from the mowers that are used to cut grass on your lawn at home. Greens mowers are much larger and have multiple blades that rotate in a cylindrical fashion. These blades are designed to cut the grass evenly and quickly, without leaving any clumps behind.
At most golf courses greens are cut at 3/16 inch or less. Above that height, the speed of the green slows dramatically and the enjoyment of golf, and particularly of putting, is reduced. A cutting height somewhere between 3/16 inch and 1/8 inch is acceptable to the vast majority of golfers.
The recent introduction of dwarf species of bent and Bermuda grasses for putting greens has mandated the need to cut the grass at or below 1/8 inch. Who would ever have thought it possible that greens could remain alive and healthy at less than a 1/10 of an inch or 2 millimeters?
How To Measure The Height Of Cut?
A cutting unit that traverses across a grass covered area is supported by a front and a rear roller. These two rollers touch the ground, and the cutting cylinder turns between the rollers at some distance above the ground.
This distance, known as the height of cut, is expressed in parts of inches or millimeters, depending on the country in which the course is located. For repair or adjustment of a cutting unit, it is tilted backward or upside down on a workbench.
A straightedge is placed across the front and rear rollers; the distance between the straightedge and the top or front edge of the bed knife represents the height of cut. Measuring the height of cut is made infinitely easier by using a solid steel bar and a micrometer attachment.
Because the height of cut is measured on a workbench, the resulting measurement is known as the bench setting, which often differs from the actual, on the green, cutting height.
Why is this so? Superintendents discovered long ago that a cutting height of 3/16 inch produced different results on different makes of mowers. Obviously, mowers made by different manufacturers are constructed differently and perform in their own peculiar ways, which are rarely similar. In use today is a nifty gadget, which was introduced to the market some years ago, that makes it possible to measure the actual height of cut on the green.
It consists of a triangular prism that is placed on the putting surface with the edge touching the soil. The height of the grass mat is projected against incremental graduations, thus revealing the actual in-the-field height of cut. During the same process, one can observe the quality of cut.
Keeping The Mower Sharp
Just as it is impossible to obtain a clean shave with a dull razor, it’s not possible to mow a green successfully with a dull mower, so the golf course mowers must be kept sharp at all times. To check whether a mower will cut grass, simply insert a strip of paper between the bed knife and the mowing cylinder, and watch the blades shear it off.
If the paper is creased and not cleanly cut, more than likely the same will happen to the grass when the mower traverses a green. If in doubt, get down on your hands and knees and examine the grass with a magnifying lens.
Getting down on your hands and knees is a tried-and-true way of examining the turf for most situations. A grass blade that is poorly cut will look bruised, with the veins in the leaf blade sticking out like damaged protrusions or tiny hairs.
The collective effect of the bruised hairs is the appearance of a light sheen over the entire surface of the grass. This phenomenon is not limited to greens alone, but may also occur on tees, fairways, and roughs. It is a common problem that can easily be corrected by adjusting the cutting edge of the mower or by sharpening the mower.
It is well to remember that dull mowers usually are a major factor in reducing the speed of greens. This is particularly important on greens in southern locales that are overseeded for winter play.
There are two fundamentally different methods of sharpening mower reels:
- spin grinding
- relief grinding.
The first method, spin grinding, sharpens all the blades equally in a perfect cylinder with the entire width of the blade touching the cylinder and, subsequently, the bed knife.
The second method, relief grinding, results when single blades of the mower are ground on an angle and only the front edge of a blade touches the bed knife.
Both methods have their adherents, and both camps tend to believe in the superiority of their particular way.
Equally important to the cutting cylinder is the bed knife, which depending on one’s school of thought, can be sharpened with or without a relief angle.
One thing everyone agrees on is that the front edge or the face of the bed knife must also be kept sharp. When the front tip of the bed knife becomes rounded, it will once again result in bruised grass blades.
The grinding of bed knives and cutting cylinders is usually done during the off-season, and is repeated often during the regular season. Once the grass is cut on a regular basis, the cutting cylinders need periodic attention and are occasionally back-lapped with a grinding compound to maintain their edge.
The grinding compound is applied lightly with a brush as the reel turns backward. This process tones the cutting edges of both the reel blades and the bed knife and results in a superior quality of cut. Those who prefer spin grinding over relief grinding often do away with back-lapping, claiming that it is messy, bad for the mower bearings, and unnecessary.
How To Cut The Greens? 10 Steps To A Perfet Putting Surface
Step #1. It is customary for the golf course mechanic to check the mower, for its ability to perform as expected. The first function of the greens mower operator is to double-check to make sure that everything is in order.
While a gas-fueled mower is still in the maintenance area, the engine oil should be checked and the gas tank topped off. If using a battery-powered mower, it is important to check that the battery is fully charged.
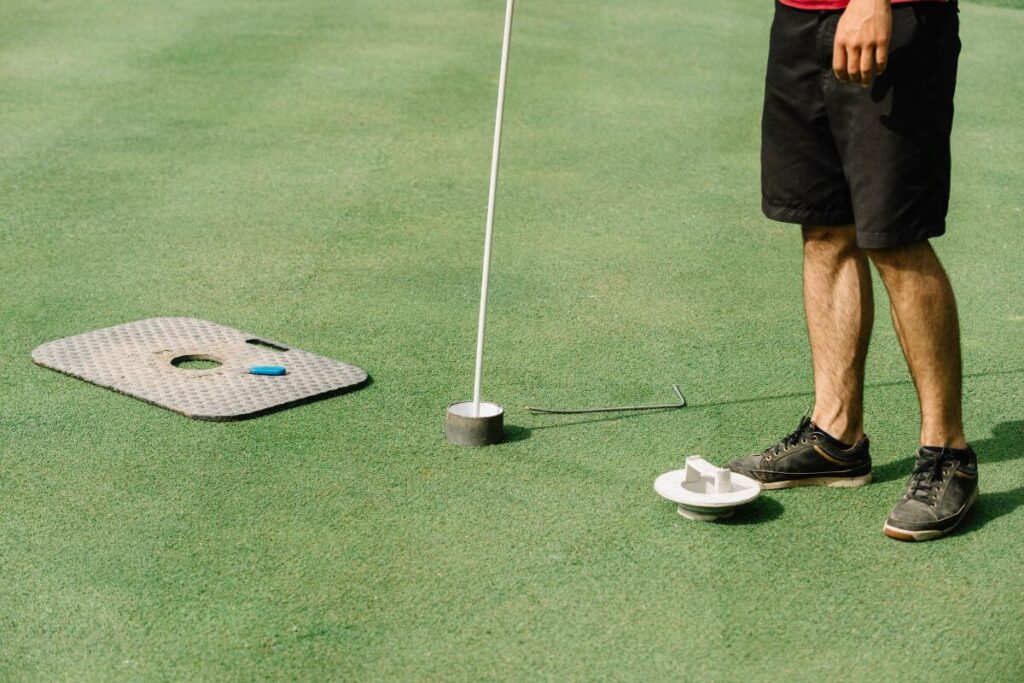
Step #2. Before commencing cutting, inspect the green by walking and scanning the putting surface, looking for stones and debris that need to be removed. In the process, fix ball marks and check the height of hole plugs that have been replaced by the cup changer, and make sure that the new plugs are level with the putting surface.
Remove the flagstick and put it aside. Some fast operators believe that they can remove the stick as they pass by, but this is seldom a good idea and quite often leads to accidents.
Step #3. The direction of cut varies and is generally determined by the superintendent. It is important that it be different from that of the previous day. The direction of cut is changed every day to help reduce the buildup of grain.
The grain on a green is the direction in which the grass leans, much like the nap of a living-room rug. Change the cut every day, and, ideally, grain will be eliminated or at least reduced.
Step #4. Straight cutting lines are essential. For the first pass, pick a tree on the horizon or some other feature in the landscape, and keep looking at it as you mow a strip across the green. A straight line will result. For subsequent passes, it is no longer necessary to look at the horizon. Instead, focus on the straight line that has been completed at the far end of the green.
Step #5. The overlap: Novice cutters should overlap several inches. Experienced cutters may reduce the overlap to a narrow strip. The markings on the baskets can be helpful in determining the degree of overlap.
Missing a small strip of grass because of insufficient overlap is a cardinal sin against good greenkeeping. This results in golf balls jumping on the green and losing their direction, which becomes a golfer’s nightmare.
Step #6. The turn: It is important to make long, wide turns. Think of the shape of a light bulb or a teardrop while making the turn. Short, quick turns tear the turf on the apron.
If a sand bunker or other obstruction is in the way of completing the turn, maneuver away from the hazard and turn in the adjacent rough. Operators should be cautious when making turns on wet aprons. Mowers may slip and slide on the damp turf.
Step #7. Check the basket for clippings while the green is being cut. Clippings tell a story: Uneven distribution within the basket means the cutting unit is set improperly. Unbalanced quantities between the baskets on a rider may indicate differing heights of cut.
Likewise, when using a walking mower, the quantity and distribution of the clippings in the basket needs to be checked. In either case, if there is a problem, contact the mechanic or the superintendent.
If you think the green has been cut perfectly and the mowers are truly sharp, come back in the evening to make an assessment. With the setting sun over your shoulder, every imperfection on the green is clearly visible, and suddenly what was the perfectly cut green does not look as perfect anymore.
Step #8. Always empty the baskets before they become too full. Baskets laden with wet grass affect the quality of cut. If policy dictates that clippings be spread, learn the sweeping but coordinated motion of the upper body, arms, and hips that result in the perfect dispersal of the grass clippings.
The clippings should be spread in the rough behind the green, never on the fairway in front of the green, or in wildlife areas.
At many golf courses the clippings are collected and composted instead of being spread in the rough. Composting is a method used more frequently now by many superintendents because it is the environmentally proper way to dispose of clippings.
Step #9. At the completion of the back-and-forth cutting pattern, the outer edge of the green must now be cut. This process is known as the cleanup pass, and it requires great diligence on the part of the operator.
A cut into the adjacent apron will result in an ugly brown streak. Alternatively, to leave a few inches uncut can result in experiencing the superintendent’s wrath. Instead, slow the mower down to a crawl and concentrate on the edge with all your faculties.
Superintendents from time to time will mark the perimeter of the green with small dots of paint. This process will help to keep the shape of the green intact.
The cleanup pass may be omitted from time to time to prevent the buildup of wear patterns along the edge of the green.
Step #10. Although many operators now use earplugs to protect their ears from excessive noise, it is still important to listen to the sound of the mower, especially the purr of the reels touching the bed knives, which will give a hint if the reels are maladjusted.
Wrapping Up
When the green has been completely cut, replace the flagstick. Last but not least, take a whipping pole and brush off the clippings that may have fallen off the mower during cutting near the edge of the green and on the apron. Then, stand back for a few seconds and admire your work in the hope that your supervisor will, from time to time, praise you for your outstanding green cutting ability
FAQs
How Often Are Golf Greens Cut?
Golf greens are cut on a daily basis, sometimes even multiple times per day. This is necessary in order to keep the grass at the correct height and to ensure that the greens are free of any debris. If there is a lot of foot traffic on the greens, they may be cut more often to prevent the grass from getting too worn down.
Why Are Golf Greens Cut So Short?
The main reason that golf greens are cut so short is to provide a smooth, even surface for the ball to roll on. If the greens were cut any higher, the ball would bounce and roll erratically, making it difficult to play the game.
Another reason that greens are cut short is to prevent the growth of weeds and other unwanted vegetation. By cutting the greens short, golf courses can maintain a pristine lawn that is free of any unwanted plants.